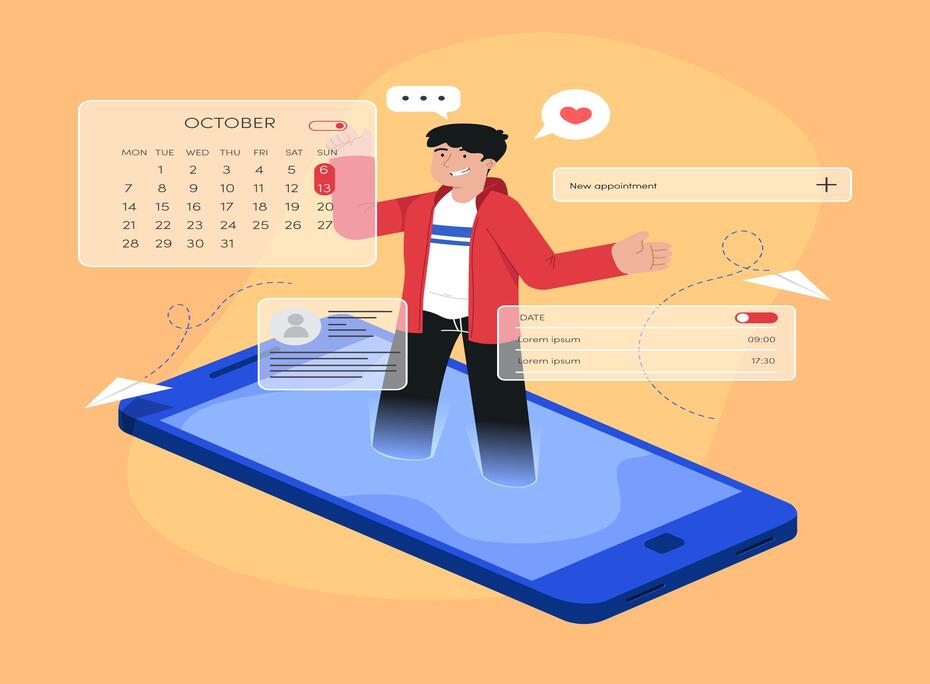
In our fast-paced world, staying organized is essential. Google Calendar has become an indispensable tool for managing schedules, appointments, and events. However, to truly harness its power, you need to know how to share Google Calendar with others. Whether it’s for work, family, or social events, sharing your calendar can streamline collaboration and keep everyone on the same page. In this blog post, we will walk you through the process of sharing your Google Calendar step by step.
Step 1: Access Your Google Calendar
To start, you’ll need to access your Google Calendar. You can do this by visiting the Google Calendar website or by opening the Google Calendar app on your smartphone.
Step 2: Select the Calendar to Share
Once you’re in your Google Calendar, look at the left sidebar. You’ll see a list of calendars under “My calendars.” Click on the calendar you want to share. If you have multiple calendars, make sure to choose the right one.
Step 3: Open Calendar Settings
After selecting the calendar you want to share, click on the three vertical dots (more options) next to the calendar’s name. This will open a dropdown menu. From the menu, select “Settings and sharing.”
Step 4: Share with Specific People
In the calendar settings, scroll down to the “Share with specific people” section. Here, you can add the email addresses of the individuals you want to share your calendar with. You can also choose their access permissions:
- See only free/busy (This option allows others to see when you are busy or available without details about your events.)
- See all event details (This option grants full access to your calendar, including event details and descriptions.)
- Make changes to events (This option allows collaborators to edit and add events to your calendar.)
Step 5: Adjust Permissions
Next to each email address you add, you can use the dropdown menu to set the access level. You can choose between “See only free/busy,” “See all event details,” or “Make changes to events” for each collaborator.
Step 6: Notify People
If you want to notify the people you’ve shared the calendar with, click the checkbox next to “Send email to…” This will send them an email invitation to view your calendar.
Step 7: Save Changes
Once you’ve added the email addresses and set the permissions, click the “Save” button to confirm your choices.
Step 8: Verify Sharing
To verify that your calendar is shared correctly, you can check the list of people with access in the “Share with specific people” section. You’ll see the names and email addresses of those who have access and their respective permissions.
Step 9: Collaborate in Real-Time
Now that you’ve shared your Google Calendar, you and your collaborators can view and manage events in real-time. Any changes made to the shared calendar will be reflected for everyone who has access.
Step 10: Managing Shared Calendars
To manage shared calendars or change permissions, return to the “Settings and sharing” section for the calendar you’ve shared. Here, you can edit access, remove collaborators, or change their permissions at any time.
Step 11: Sharing with Groups
Instead of adding individual email addresses, you can share your calendar with a Google Group. This is particularly useful for organizations or teams, as you can easily manage access for multiple members at once by adding the group’s email address.
Step 12: Color Coding Events
To make it easier for collaborators to distinguish between multiple shared calendars, consider color-coding your events. Each calendar can have a unique color, and this visual distinction helps users quickly identify which events belong to which calendar.
Step 13: Embedding Calendars
For websites, blogs, or intranets, you can also embed your Google Calendar. This allows others to view your calendar directly on a webpage. To do this, go to “Settings and sharing,” scroll down to “Integrate calendar,” and copy the HTML code provided.
Step 14: Delegating Access
If you have an assistant or someone who manages your calendar on your behalf, you can delegate access to them. Delegation allows them to add and edit events on your calendar without needing to sign in as you.
Step 15: Privacy Considerations
Be mindful of the information you share on your calendar, especially if it’s accessible to others. Avoid including sensitive or personal details in event titles or descriptions if your calendar is shared with individuals who do not need that information.
Step 16: Mobile Access
Sharing and managing your Google Calendar is just as easy on mobile devices. The Google Calendar app for iOS and Android provides the same sharing options and real-time collaboration features.
Step 17: Google Workspace (formerly G Suite)
If you’re using Google Workspace for business or education, the sharing process may have some additional features and controls. Administrators can manage sharing settings for all users in an organization.
Step 18: Troubleshooting
If you encounter any issues with sharing your calendar or if collaborators can’t see the calendar you shared, ensure they are signed in to their Google accounts and that they’ve accepted the invitation email. Sometimes, adjusting browser settings, such as clearing cookies and cache, can resolve access problems.
Step 19: Syncing with Other Calendar Apps
Google Calendar can sync with various other calendar apps like Microsoft Outlook, Apple Calendar, and more. Collaborators who prefer using a different calendar app can still access your shared Google Calendar by adding it to their preferred app.
Conclusion
By following these additional tips and steps, you can make the most of sharing your Google Calendar and streamline your scheduling and coordination efforts. Whether for work, personal, or collaborative projects, an organized calendar can greatly improve productivity and ensure everyone stays on the same page.